
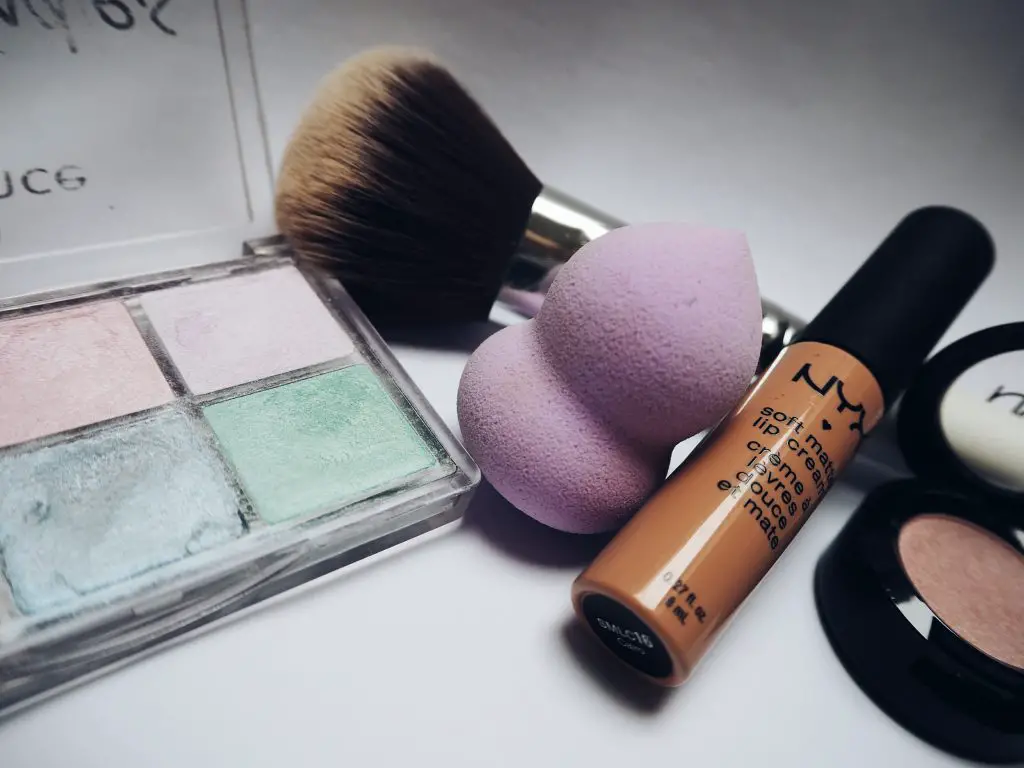
With myriads of applications and more than a dozen sizes, a makeup sponge is an indispensable asset that every fashionista owns. From effortlessly applying beauty creams & concealers to leveling your foundation, there’s no one way to use this product.
But all the uses do not come right off the bat, especially if you are a beginner. Not to worry, though! If you are wondering how to use a makeup sponge for the dream airbrush finish all A-listers dawn, you are in for a delight.
Read on.
Types of Makeup Sponges: At A Glance
| Type | Pros | Cons |
| Beautyblender | Airbrush-esque finish Flat as well as pointed edges | Can absorb a lot of your product |
| Wedge-shaped | Highly versatile Good for tough-to-reach areas | Designed for one-time use only Small size |
| Pretty puff | Has both pointed and flat surfacesLast longer than conventional sponges | Constant cleaning is required to keep bacteria from breeding |
| Silicone Sponge | Non-absorbent material prevents product wastage Easy to clean since it is not porous | Not a great option for blending |
| Avon Triangle | Disposable and compact Affordable | Can leave straight lines and points behind instead of giving you an even finish. |
Using A Makeup Sponge: Step-by-Step Guide
Before we share how to use a makeup sponge, there are a few prerequisites that you must adhere to for the best results. The first one is facial cleaning. You can do this using some lukewarm water so that any traces of dirt that might later get mixed up with your makeup are removed in the first stage itself.
Next, you need to moisturize your face or use tinted sunscreen so that your skin can hold the makeup. This will also help you get a matte-like finish on your skin. You can apply some primer as well but only do this if you have issues like redness or uneven skin tone. Those looking for a light makeup look can skip this.
The way you will use your makeup sponge totally depends on the type of product you pair it with. Regardless of this, here are five simple steps that may be applied to each variation:
Wet the Sponge
Makeup sponges are typically used dry by most novices; however, wetting them ensures that they absorb water instead of soaking up all your makeup. They increase in size after you dip them in water, which is perfectly normal. This happens due to the hydro-sensitive material which is placed inside to absorb water.
After this, squeeze out all the excess water and set the sponge idle for two minutes.
Apply Product
Since the sponge is now moist, you can be sure that the product will bounce off it instead of getting absorbed. Next up, place the product that you intend to use on the backside of your hand, followed by dipping the pointed end of your makeup sponge into the product.
Now apply this product onto your skin while gently dabbing it. Do not rub or drag it across the surface, as this will not give you the flawless finish that you desire.
The best method of application is dabbing, which may be used for all the products ranging from concealers and cream blushes to contour products.
Even Out the Finish
Gently dab over the area of application until the product is distributed smoothly. You can also look into blotting cushions for better coverage and distribution. Continue dabbing over the neck and jawline as well.
Top it all off with a mist spray or setting powder which helps keep the foundation/product in place, and you are all set!
Cleaning the Sponge
If you want to prevent bacteria from manifesting into your sponge or want to be able to re-use it later without harming your skin, you will need to wash it. Soak the sponge in soapy water or some water diluted with a facial cleanser overnight. Then rinse it the next morning and rub it gently until the surface becomes clear.
In order to dry it, roll back and forth over a clean towel. This will seep out any remaining moisture, and your sponge will be ready to be reused again.
Storage
Even though you have cleaned your makeup sponge, do not keep it out in the open exposed to air. This can lead to coagulation of various dust particles onto the surface of the sponge, which can later lead to breakouts. Ideally, you should store a makeup sponge in an airtight place or the packaging they came in.
Pro Tip: In case your sponge has gotten dirty, and you need a quick replacement, simply cut it in half, and you’ll have two clean slates to work with.
How to Choose A Makeup Sponge
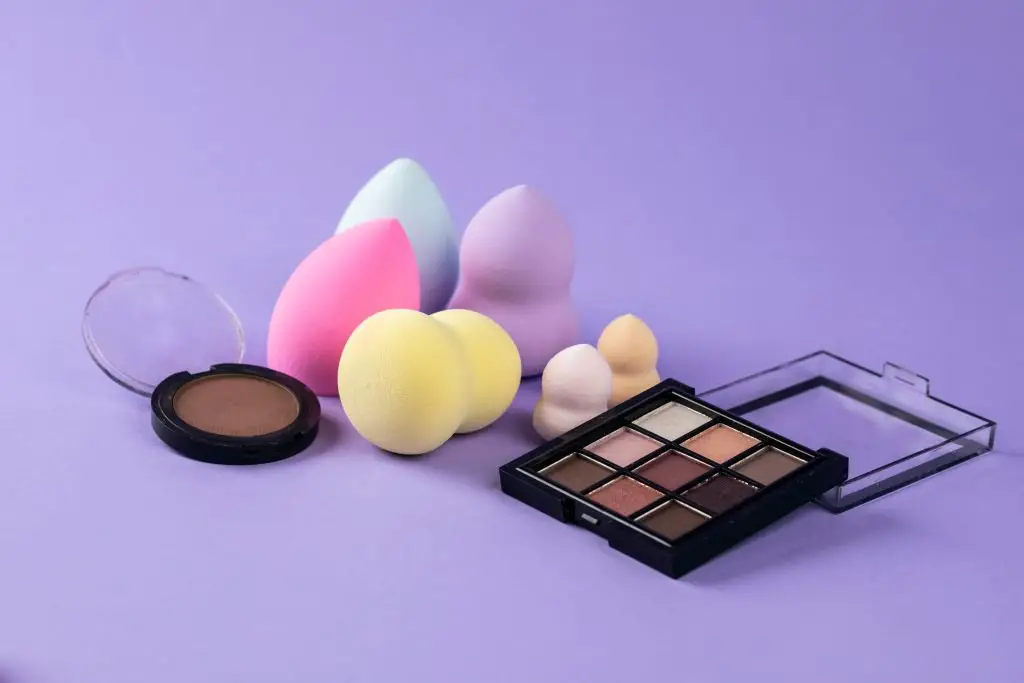
Given that they come in so many different shapes and sizes, picking up the right makeup sponge can be quite confusing. When shopping for a makeup sponge, you should streamline your cart in accordance with three features: Shape, porousness, and size.
You should get an ‘egg-shaped’ sponge for the best results. This is because the pointed edge is used to blend the foundation on tricky areas such as the nose and under the eye, whereas the flat edge is good for covering a larger area quickly.
As for the size, larger sponges will allow more coverage in one shot but are difficult on the edges, whereas smaller ones are good for detailing. This comes down to your personal preference.
Last but not least, go for a sponge with non-absorbent material which is not visually porous and has a smooth texture.
Pro Tip: When using a beauty blender, always use both ends. Apply foundation on one end and use the other end to dab and distribute that foundation onto your skin evenly. You can also use this to get a contoured look. Who doesn’t like chiseled cheekbones after all?! Simply draw some lines around your cheekbones using a stick and blend them out.